Showing posts with label Polka Dot Nails. Show all posts

Saturday, April 21, 2012

Dots of Summer Nails

Being a relatively new resident of Denver, I have come to appreciate the extra long "summers" I had in Texas.  Snow in April makes me long for flip flops, shorts, and summery neon nails.   I am vacation right now (in Texas, incidentally) and did these Neon polka dot nails.

(Sorry about the quality of my photo taken with my Droid--I inadvertently left my digital camera at home!)


The base is KleanColor Teal Envy with a chunky holo top coat.  The white dots were made with Sinful Colors Snow Me White and the inner dots were made with Sinful Colors Innocent, Amethyst, Boom Boom, and Wet N Wild Megalast Club Havana.  I also topped each dot with a matching chunky holo color.  The dots were made with two sizes of dotting tool heads.   C'mon Summer!

Friday, April 20, 2012

Week 16 of the Year of Polish Challenge: Gradient Dotticure


I've been wanting to try a gradient using the one step sponge gradient technique from LaynieFingers so I  did it tonight.  But then I remember that my challenge this week is a dotticure.  And my brain smashed the two manis together and the Gradient Dotticure was born!


I did the gradient just like Laynie did with a white base color and gradient colors in Wild Rose, Disco Purple, and Iceberg Lotus.  I then applied small dots in reverse color order.  The Wild Rose didn't show up very good on top of Disco Purple so I added dots in Dream on.  These look pretty cool in my opinion!

Friday, March 9, 2012

Week 10 of the Year of Polish Challenge: Minnie Mouse Nails

No surprise, I saw the Minnie Mouse graphic below while searching for some polka dot inspiration and decided I needed some Minnie Mouse nails!


Here is the finished product!


After prepping my nails with ProFX Complete 3 base coat, I painted on one coat of Ruby Slippers.  Next using a dotting tool, I made Snow Me White dots all over each nail except for the ring fingernail which I did a half moon formation of dots.  I also dipped a small nail art brush into Snow Me White and did a white background shape of the bow on the ring finger.   On my thumb nail, I free-handed a mouse head in Ebony Hates Chris.  I then painted over the white bow shape with Let's Meet and used Ebony Hates Chris to carefully outline the bow and add detail.  Last, I used a bit of Trixie to show the shape of the mouse ears on my thumb nail.  I topped it all off with another coat of ProFX Complete 3 for my topcoat.

I am lovin' these nails and this challenge!  Polka dots rule:)


Sunday, February 19, 2012

Mother & Child Manis

My friend Jaime and I were playing around at her house and her almost 4 year old daughter, Sophia, wanted some pink nails while Jaime was interested in galaxy nails.  Sophia wanted every nail to be decorated so I stamped a white rose on each thumb, black polka dots on the index nails, stripes down the middle nails, silver glitter on the ring nails, and white hearts on the pinky nails. While I painted Sophia's nails, her mother painted her two year old sister, Lily's nails.


Jaime and I have both pinned these galaxy nails in Pinterest and I attempted to recreate them for Jaime.  I think they turned great!


What do you think?

Thursday, February 9, 2012

Polish Haul and Nails Two Ways: Splatter Mint Nails and Mint Cirlces and Dots Nails

I really, really, really need to stop buying polish but these were such good deals that I couldn't pass them up.  Not to mention, oh my, pastels!  Also, I've been generating all sorts of ideas using studs so the Kiss Nail Art Metallic stickers were an especially cool find!


I couldn't wait to try I Need A Refresh-Mint so I painted my base coated nails with two coats of this mint-y polish.


Next, I decided to try Splatter Nails one more time with a smaller straw and had better results this time!  I call these Splatter Mint Nails.


On the other hand, I wanted to try something different so using the same small straw I created circles, half circles, and arches in four different pastel polishes.  Next I took my smallest dotting tool and applied random dots in the same color to each nail.


The Splatter Mint Nails look so cool and my Mint Circles and Dots Nails are extra cool!


Thursday, December 22, 2011

Betsey Johnson State Fair Print Nails

I love Betsey Johnson's wild and crazy prints and her State Fair print is no exception.  I'm not sure I would ever spend $178 on a one-piece swimsuit nor does any of Betsey's designs come in my size.   However, I can wear her prints on my nails with a little bit of work and some polish!

 Click on the State Fair swimsuit below to be sent to Betsey's website where she sales all of her fabulous clothing and accessories!


On these nails, I started with two coats of Raven as my base color.  I then drew in all the print elements such as the four differently shaped flowers, leaves, stems, and bows in Snow Me White.  After the white polish dried, I applied For Audrey, Let's Meet, and Lavender Creme to their respective flowers.  I used a white base for any design on a darker color so that the polish will show true color.  I used Happy Ending to color the leaves and stems and used more Raven to draw back in line detail for the white bows and flowers.  I then took a very small dotting tool to put in the black dots on the large white flowers and bows.  I colored the center of each flower with the colors shown in the print: black for the blue flowers, pink for the yellow flowers, and yellow for the pink flowers.  I also used the same small dotting tool to dot in the white dots on the black background.  Last, I drew in shadow accents on the flowers with complimentary colors and finished these nails with a quick swish of Fast Drying Topcoat.

While these nails are a bit time consuming, they turned out even better than I had hoped and rank in my favorites!

Tuesday, November 29, 2011

Print Inspiration, Yet Again...Retro Polka Dots from a Myspace Layout image

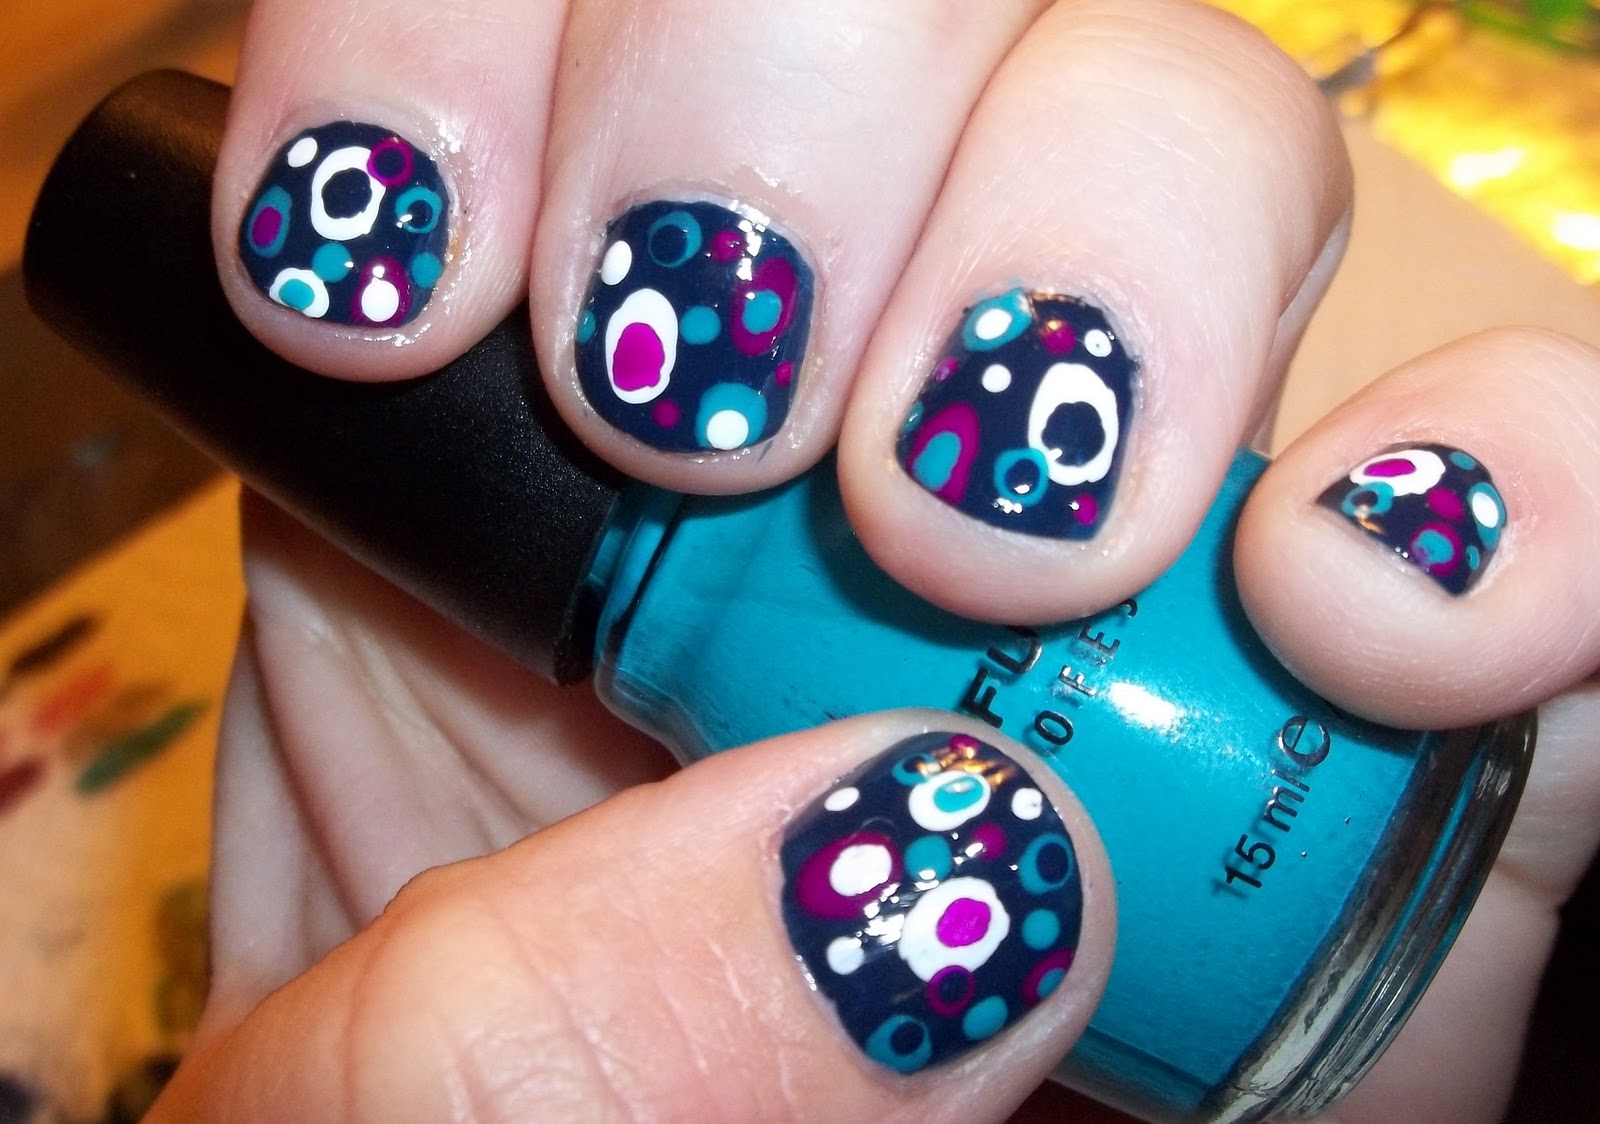
Since getting dotting tools in the mail about an month ago, you can tell I've been busy dreaming up or being inspired to used the tools in new ways.  I was inspired by the Myspace layout found here, the layout entitled "Pink and Black Rings."  I did not like the jacks-like images throughout the layout or the thin rings nor did I like the colors much.  Moreover, I had just gotten in my 2nd Julep Maven box that had three Julep polishes, including a sexy navy blue called Michelle.  I decided that Julep's Michelle would be my base color.


After applying the base color, I used Sinful Colors' Snow Me White, Dream On (Fuchsia), and Love Nails to make random circular and oval dots with differently sized dotting tools.   I then filled in the dots with the same colors and the base color.  It seemed to work out ok but I think perhaps I need a steadier hand!  Applied a topcoat, and that was that!