Showing posts with label Floral Nails. Show all posts

Monday, August 6, 2012

Sunflower Nails -- A Tutorial


The husband and I went to Estes Park for a few days and I wanted some cute nails.  Sunflowers have been on my radar and after a Google images search I got some great inspiration.  I also had the time and patience to take tutorial pics so you can recreate the look if you like it!

I first started with Orly Bonder and then applied two coats of Sinful Colors Sweet Dreams.


I then used Sinful Colors Nirvana to paint on large brown ovals on to each nail in a random pattern.  Using Insta Dri Bronze Ablaze I accented the middle of each circle.


I then used Sinful Colors Snow Me White to draw in the base shape of the petals and leaves.


I then painted the petals with Sinful Colors Let's Meet and accented each petal with Sinful Colors Cloud 9.

Last, I painted the leaves with Sinful Colors Happy Ending and traced the outline of the flowers and leaves with Ebony Hates Chris.


 Hope you like!

Wednesday, July 18, 2012

Blossom Nails


I was inspired to do this design by a rubber stamp.  The dots aren't quite to my liking but I love the colors.   This is a very Springish theme.  Anyway, its completely free-handed and different!

Yay for color!


Monday, June 18, 2012

Pinterest Zoyas arrived AND Dandelion Nails

Found these in the mail today:)  Now I'm just waiting for my three full size bottles of Zoyas to arrive from their buy three for $15 deal. 

.

I tried Zuza on right away and started to paint on daisies but they just didn't look quite like I wanted them to so I turned them into dandelions.  This is not my first set of dandelion nails but I do think they are the best so far.


I started with one coat of Zuza over base coated nails.  I then used Tokyo Pearl and drew intersecting lines to form fuzz balls on my thumb and ring fingernails.  I then used White On to draw the stems. accent the dandelions and draw dandelion tufts floating in across the other nails.  I used Recycle to shadow the centers of the dandelions and the ends of the dandelion tufts.  I colored over the dandelion stems with Irish Green and used Tokyo Pearl to draw in wind swirls.  For a finishing touch, I applied Nails, Inc. Electric Lane Holographic top coat to the edges of the dandelion and the dandelion parts floating in the wind.  Last, I covered each nail with Pro FX Complete 3 topcoat. 

These nails turned out very ethereal looking, especially after applying the holographic and regular topcoat.  I'm happy!  What do you think?

Friday, May 25, 2012

Classic Daisy Nails

I love black nail polish, I really do...but I have to embellish it.  Plain black polish reminds me too much of 90s goth.  You also know I love free handed flowers on my nails so I came up with these nails.


I started with a layer of Orly Bonder Rubberized Base Coat on each nail.  I then painted my nails with two coats of Ebony Hates Chris.  Next I used a small nail art brush and made daisy flowers with White On.  After all the flowers dried, I ran over them with Tokyo Pearl to add a pearlized look to each petal.  While Tokyo Pearl was still wet, I dropped a gold microbead in the middle of each flower and pressed them in slightly.  Last, I applied two layers of top coat. 

These were exactly what I envisioned and they are very cute:)

Saturday, April 28, 2012

Earth Day is EVERY day Flower Power Nails: Week

Testing, testing *tap,tap,tap* Is this thing on?  Its WEEK 17 of the Year of Polish Challenge!!

To be honest, I really put off this week's challenge almost in protest because I really do feel that Earth Day is every day (or should be)!  Then I was reading the Challenge closely and it says Earth Appreciation for this week.  One of the most beautiful natural things to me on Earth is flowers.  Its pretty evident that I love having flowers on my nails!  So I went with it and was not let down!!

To give credit where due, the flowers on these nails are inspired by lovely and down-to-Earth Robin Moses (Cheerful Flowers and others)  but with a Nails, Actually spin!  Please check out Robin's nail art on Facebook, Youtube, Twitter, and her blog?  You won't be disappointed!


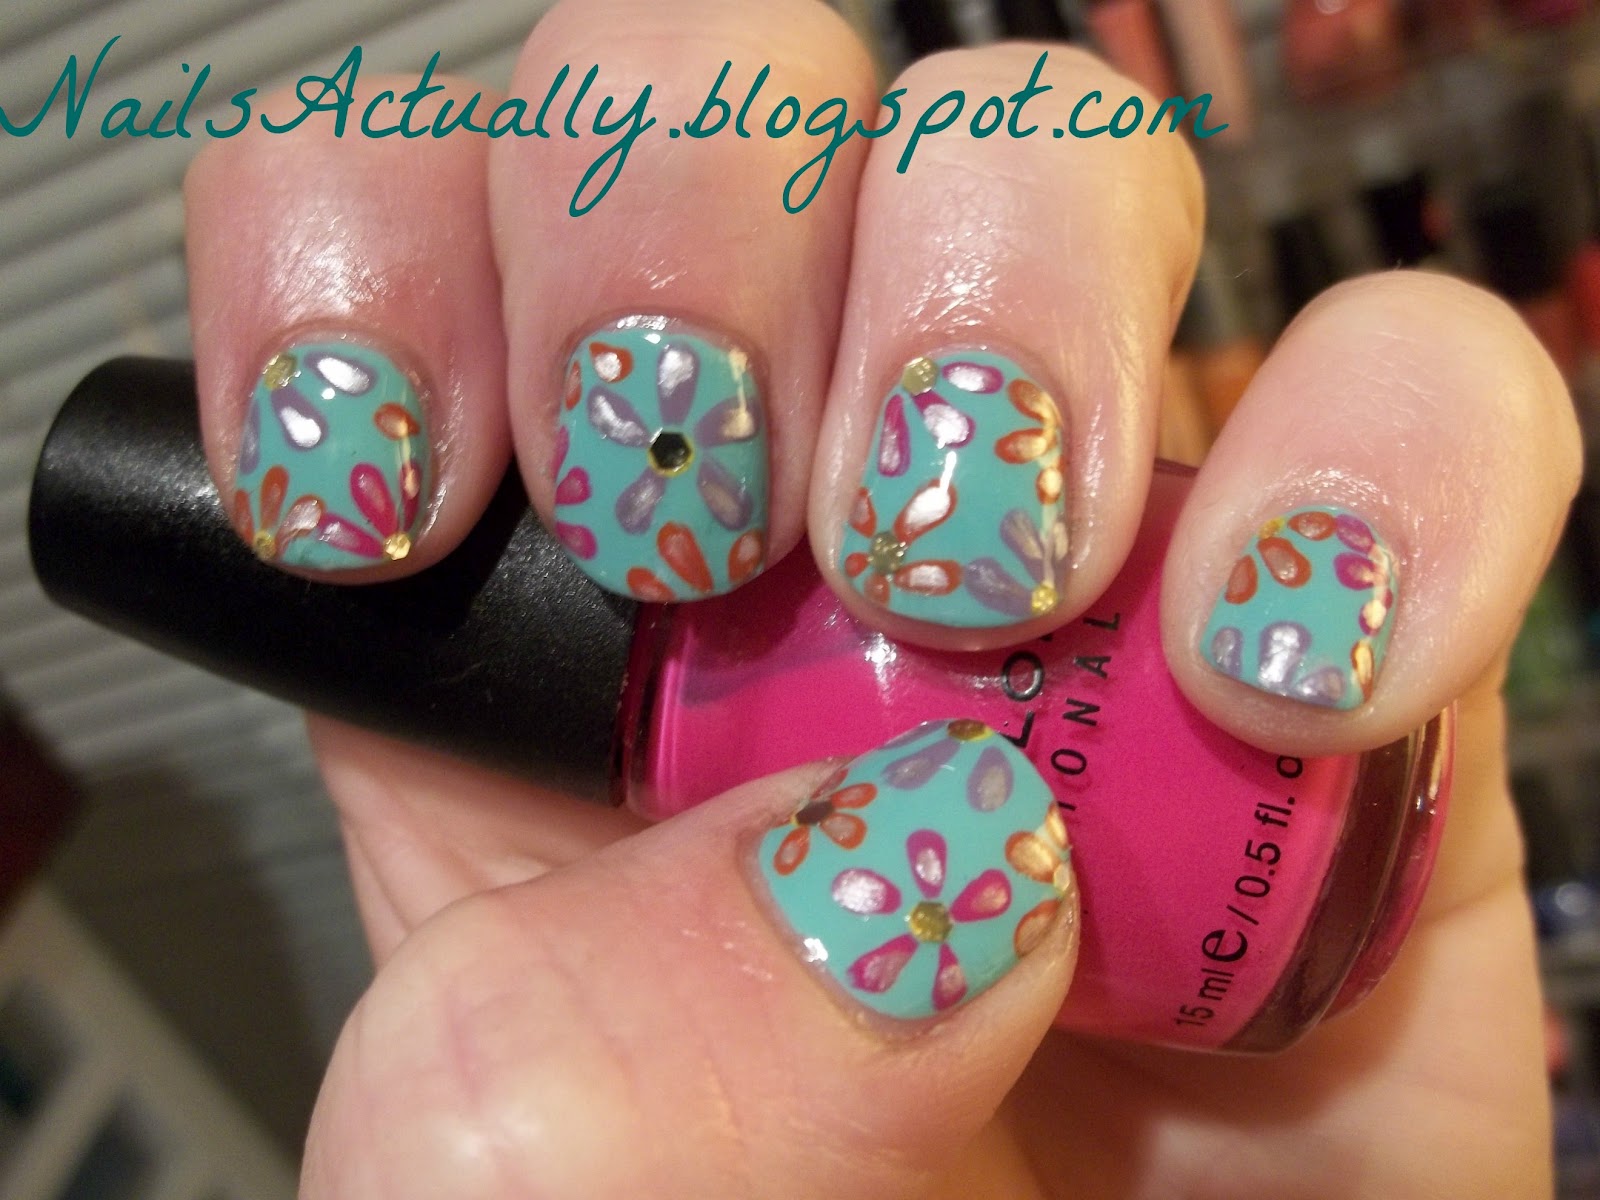
I did these by first applying one generous coat of I Need a Refresh-Mint to base coated nails.   I then used Robin Moses' petal brush strokes to create flowers in Planks A Lot, Boom Boom, and Big Daddy.  I used a nail art brush to put dots of Sunshine in the middle of each flower then had the exceptional idea to use the large hex glitters from Golden Nirvana (Klean Color) to be my flower centers.  Last, I used Tokyo Pearl to add shiny accents to each petal and covered with Julep's Fast Drying Topcoat!  These nails started out being so so but now finished they are some of my favorites!

Power to the Flower!

Tuesday, March 20, 2012

First Day of Spring means Bluebonnet Nails!

One of my fondest memories of my grandmother that recently died was when I was very young.  My grandmother would take my sister and I on walks in the fields in front of their home in Texas during the spring.  My sister and I would pick handfuls of wildflowers including Indian paintbrushes and bluebonnets.  Yes, yes, I know that bluebonnets are the state flower however, try to reason with a five year old!  We'd bring them back to the house and put all the flowers in mason jars and drinking glasses.  My grandmother was an avid gardener and always had rose bushes and ivy growing.  She loved teaching my sister and I about growing things. Anyway...I have been seeing friends and family post bluebonnet pictures on Facebook and got a little nostalgic so I decided to paint some Bluebonnet nails.  Major plus is that Spring is upon us! 

The first thing I did was to search online for some bluebonnet paintings and found Niki Gulley.  Her Texas wildflower paintings are sooo gorgeous that I modeled my wildflowers after hers!

Next, I had to test out my techniques.  When you do elaborate nails with layered backgrounds you do not want to experiment on your nails.  I practice my designs on dollar store note cards.


You get the idea.  Luckily, most of my nails art tends to turn out better than the test but these look pretty good.  One thing I knew to avoid was the "grape clusters" look when doing this on my nails.  The learning is all in the test!

Then I tried the design out on my nails. The first is with a lamp light and no flash and the second is with flash.


So how did I do these nails? Very carefully!  I started with base coated nails and did one thin coat of Metallic Yellow.  I then sponged on random spots of Snow Me White.  Next I filled in some of the white background with sponging in Unicorn and Venus.  Once the background dried, I sponged on a thin green haze at the tip of each nail in San Francisco.  Using a nail art brush I made bluebonnets with dots of Metallic Sapphire.  I then filled in the middle of each bluebonnet with small dots of Rain Check.  Using a smaller nail art brush, I made the bluebonnet tops with dashes of Snow Me White and added dots to each bonnet.  For the Indian Paintbrush, I made ovals in Thimbleberry and accented the petals with more dashes of Snow Me White.  I used more San Francisco to add stems and leaves to the paintbrushes and highlighted the leaves with the lighter green Olympia.  To protect my art, I painted over each nail with a top coat.  I have to say that these are some of my favorite nails to date.  For my Texas peeps, keep on posting the glorious spring wildflowers.  With all the rain Texas just got, there should be tons of bluebonnets and Indian paintbrushes to take in!

What do you think?

Thursday, February 2, 2012

Betsey Johnson Inspired Roses Nails

I love Betsey Johnson, as seen by Betsey Johnson Leopard and Roses Nails and Betsey Johnson State Fair Print Nails!  Her prints are so bright and cool.  Betsey frequently does rose prints with a velvet burnout feel and that is what these nails are inspired by.


First, I painted my nails with two coats of Cream Pink over a base coat. 


Next, I did random uneven splotches of Planks A Lot with a nail art brush leaving room for the other color of roses.


I, then did more random, uneven splotches of Why Not with a nail art brush in the leftover room on each nail.


I used Metallic Purple and Metallic Aqua polishes to accent the blue and purple roses.  I then used Limestone and Metallic Green to make leaves. 


I topped my nails off with the very important, protective top coat from Pro FX Complete 3. 


I love pattern nails but I'm going to start changing them up so that every nail, while contributing to the pattern theme, is different from the other.  These nails are super cute and bright and have my favorite colors in them.   I'm loving how they turned out!

Sunday, January 22, 2012

Brown and White Floral Nails

Let's face it, I gravitate towards flashy polish colors if my blog has anything to say about it but the Sally Hansen Insta-Dri Coco-a-go-go is such a pretty brown that I had to try it out today.  


To get this look, I applied two coats of Coco-a-go-go to my prepped nails.  I then applied one coat of Gilded Glitter.  I then used Snow Me White to freehand some white flowers on my ring finger. I then used Tokyo Pearl to apply some shine and Out of This World and Recycle to accent the flowers and stems.  Last, I used my Pro FX Complete 3 as a top coat.   These are some adorable nails that would work for alternative fall nails or with all the shimmer, some summery beach nails or toes.